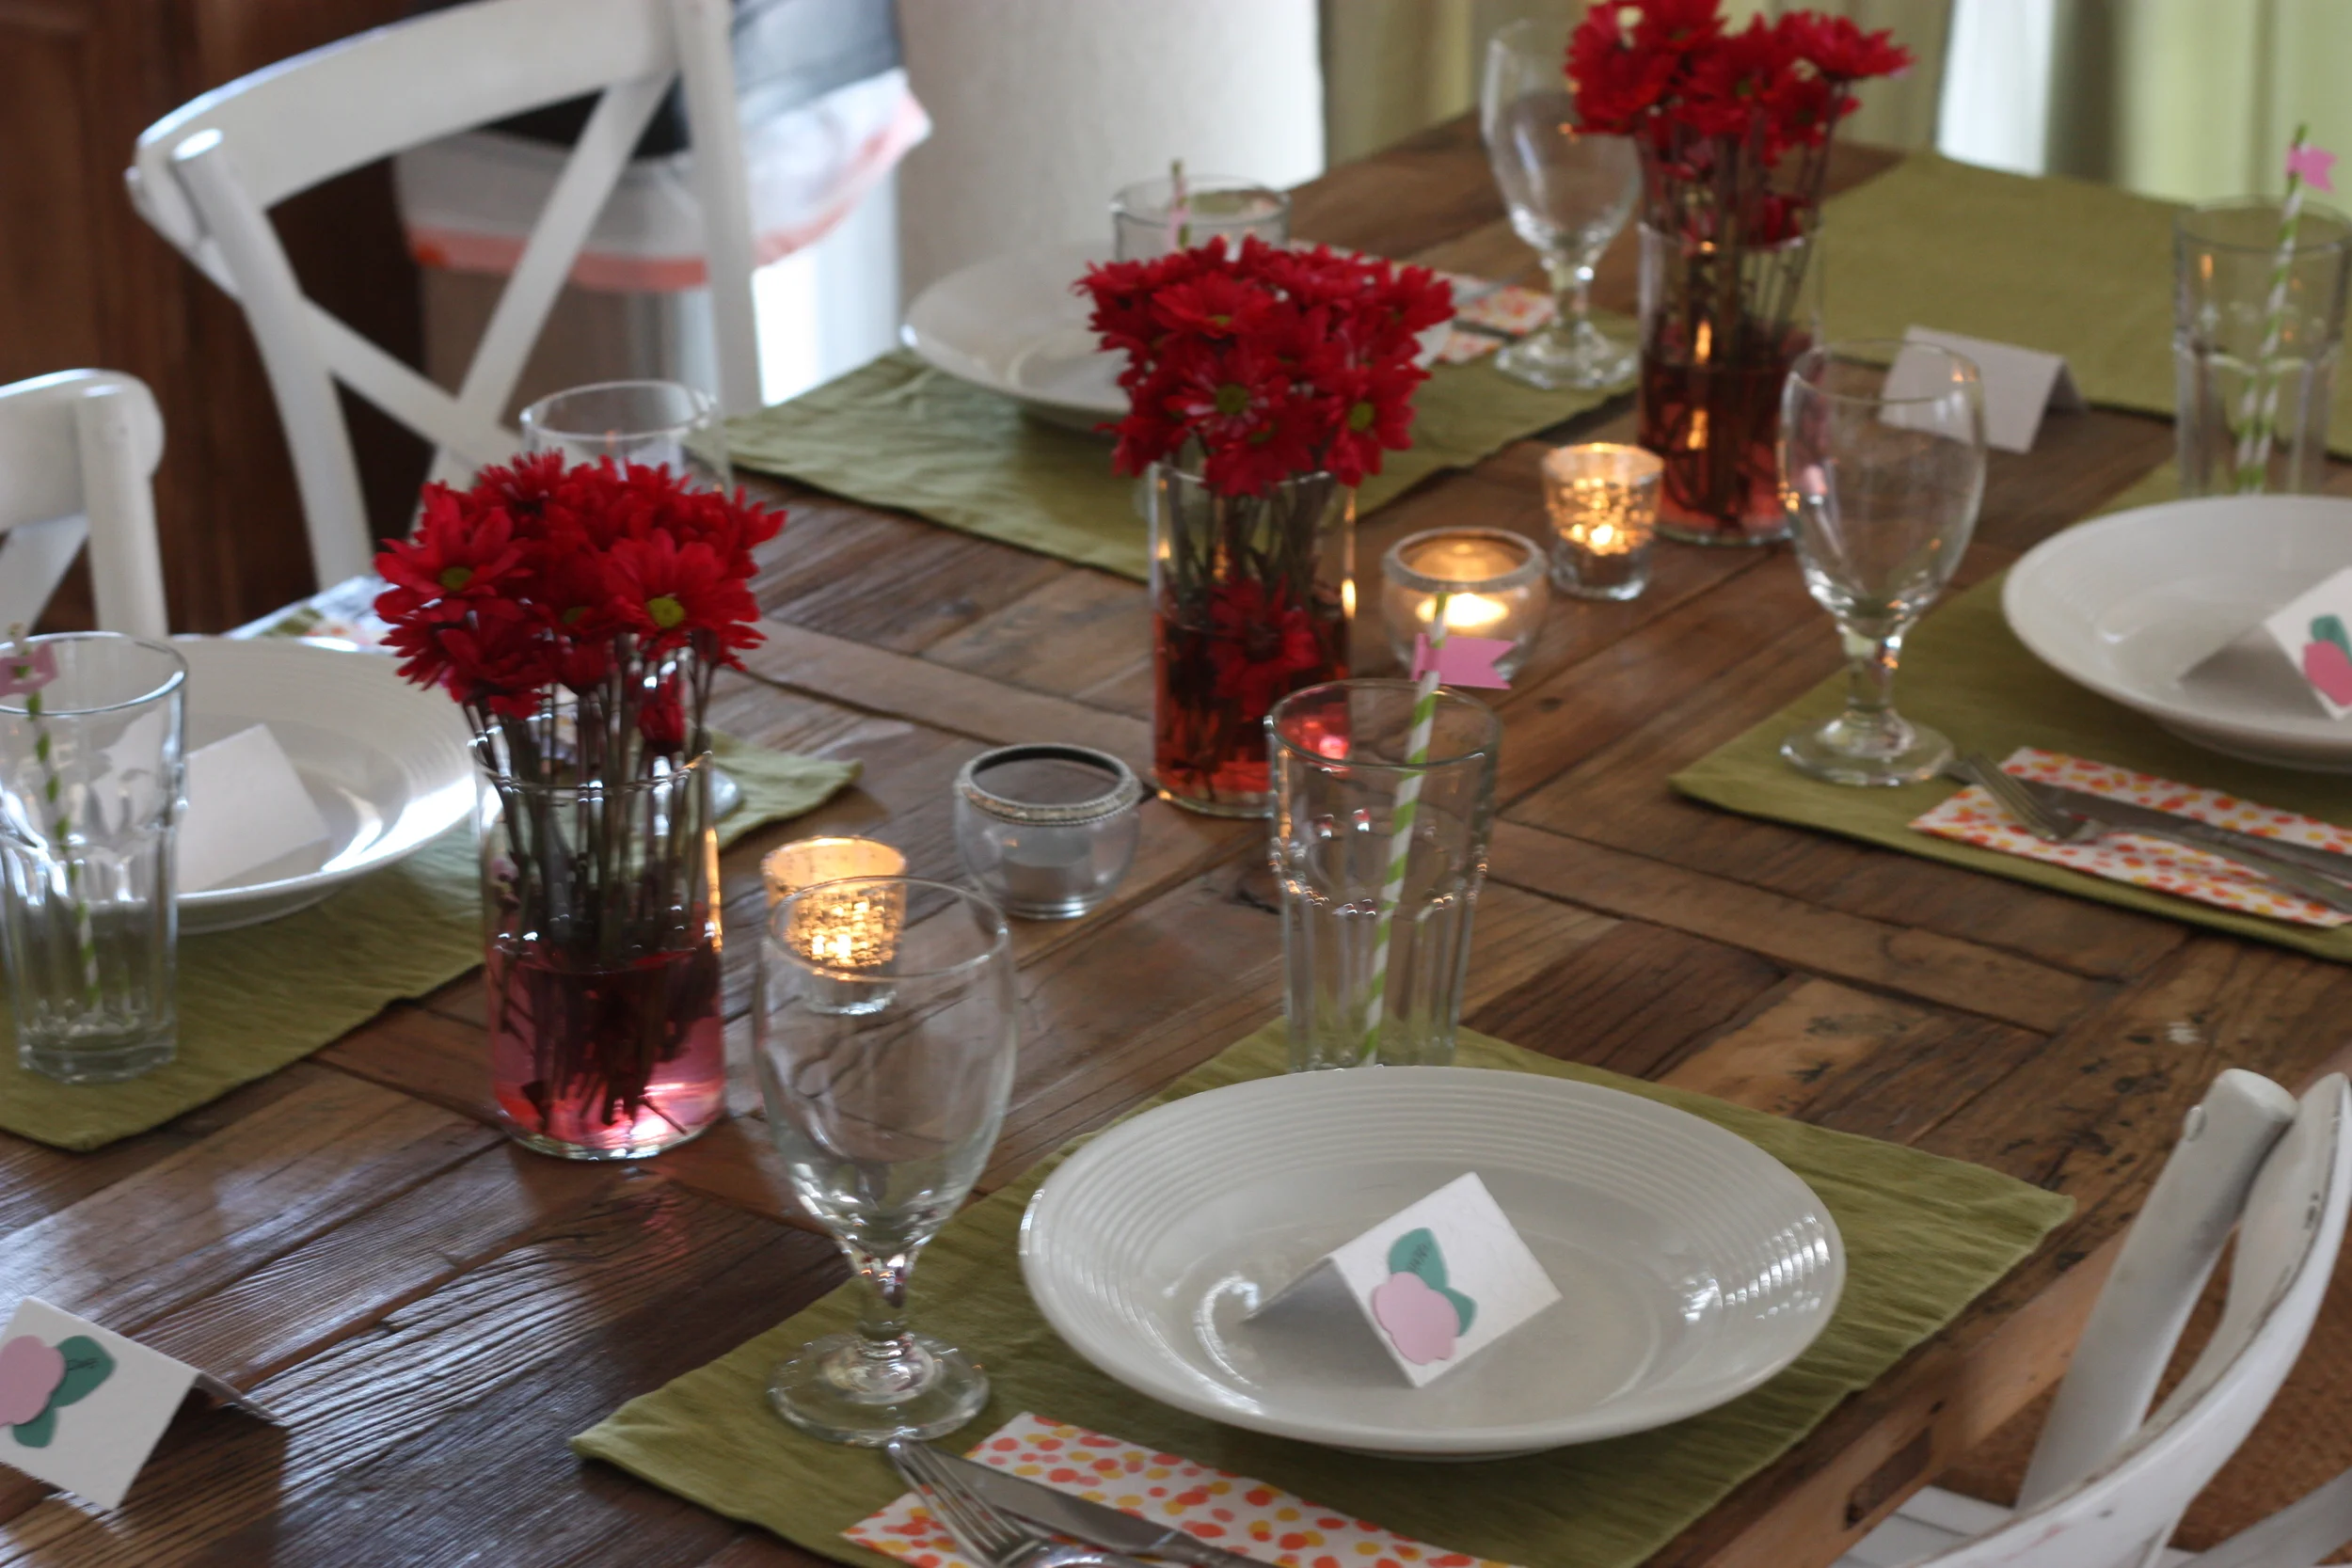
Easy Peasy Scrapbooking

I consider myself the memory keeper in my family. I save momentos from little moments from my kids' lives, I like to save old notes and this that have personal meaning to me. I make digital scrapbooks each year for my family. In honor of National Scrapbook Day I'd love to show you my newest faves for keeping your memories. 

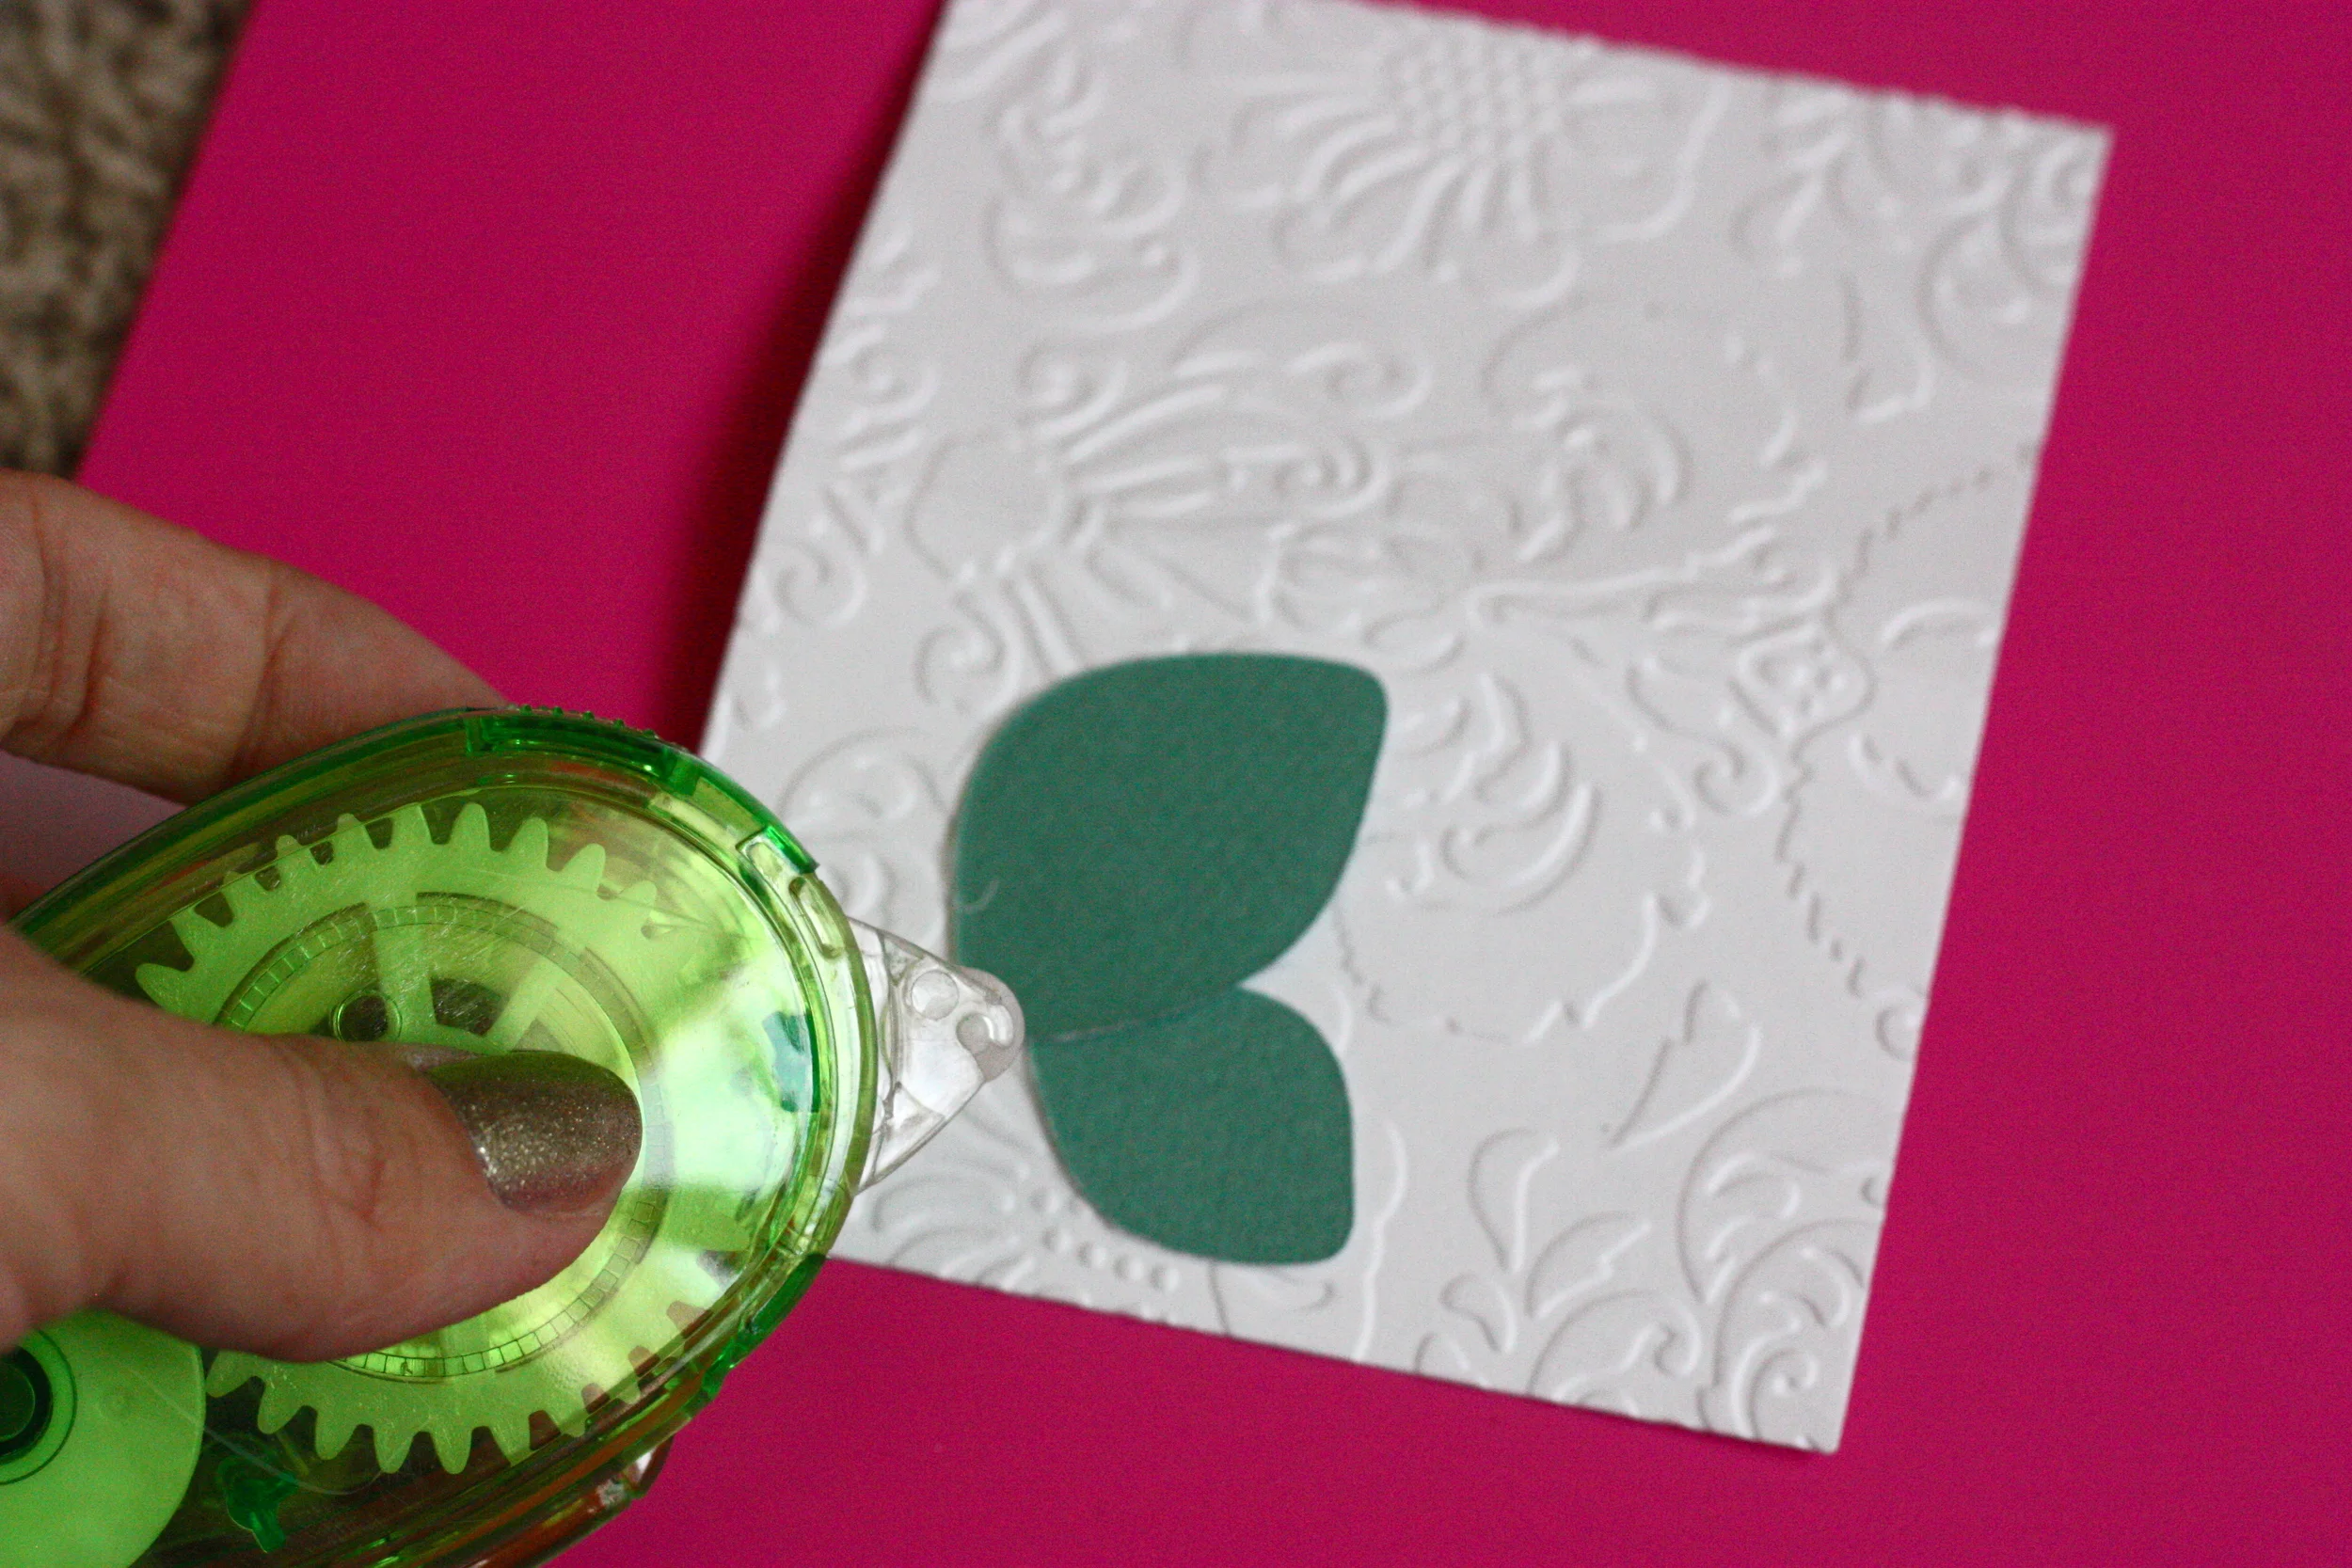
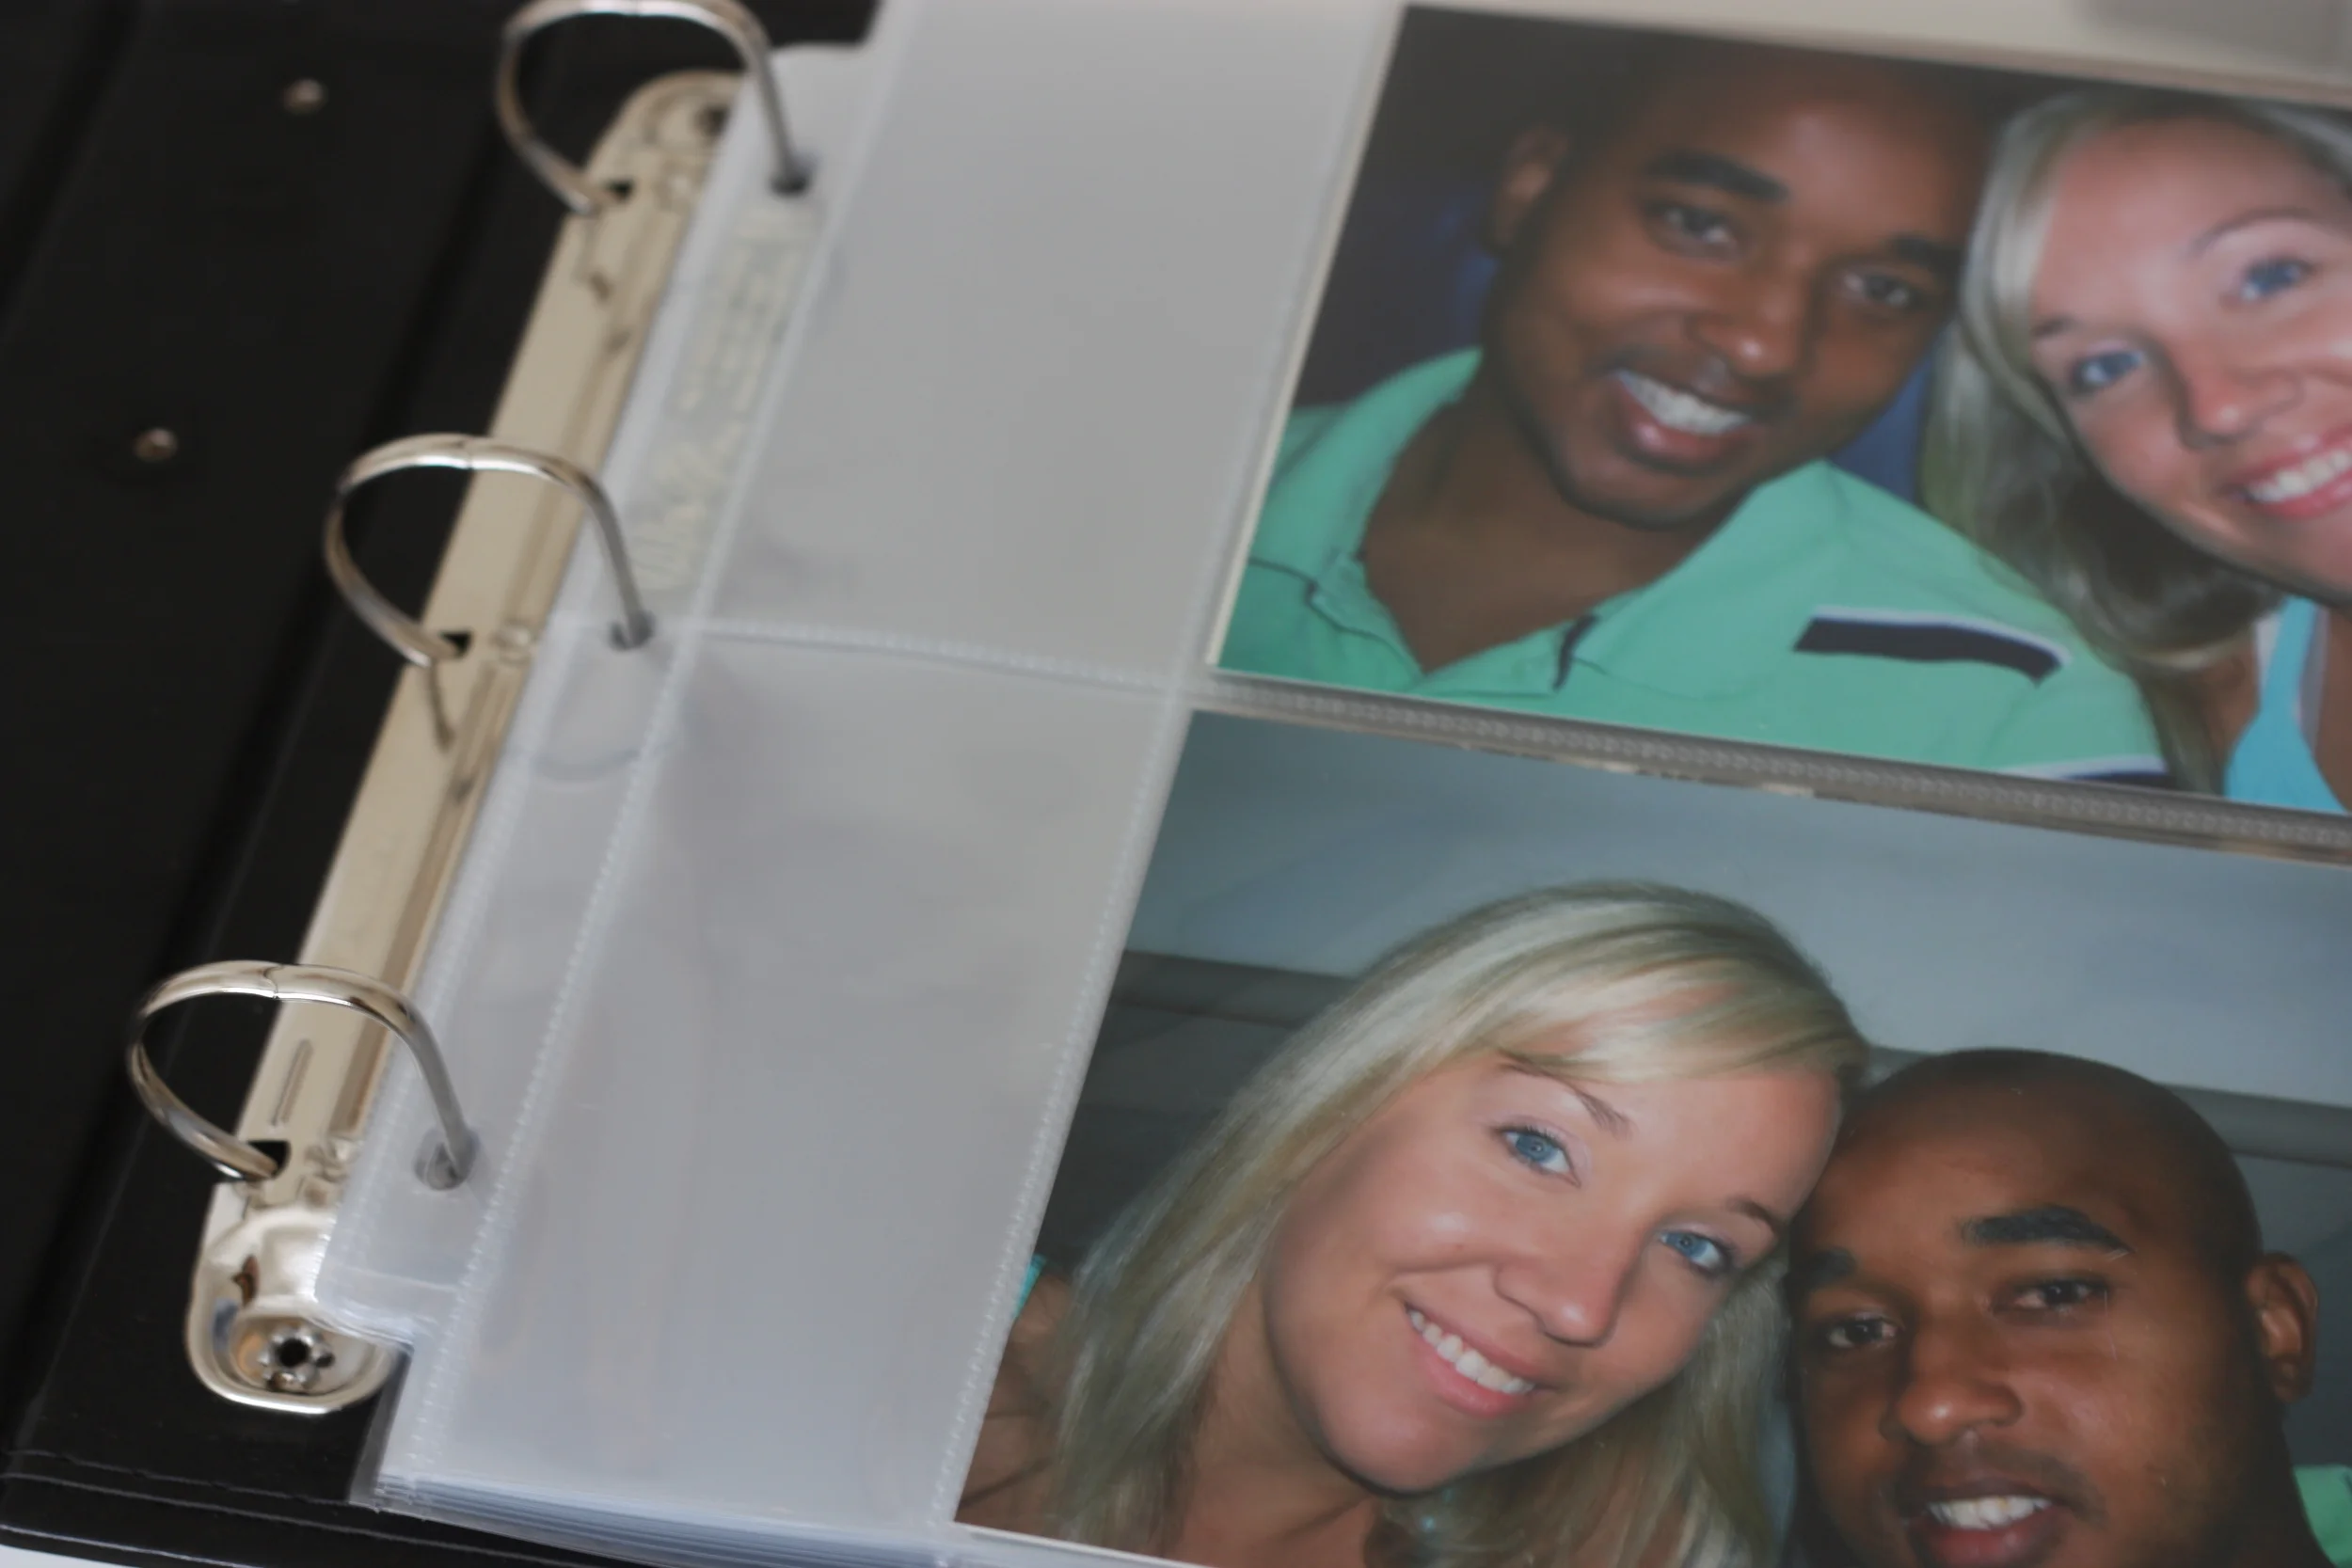
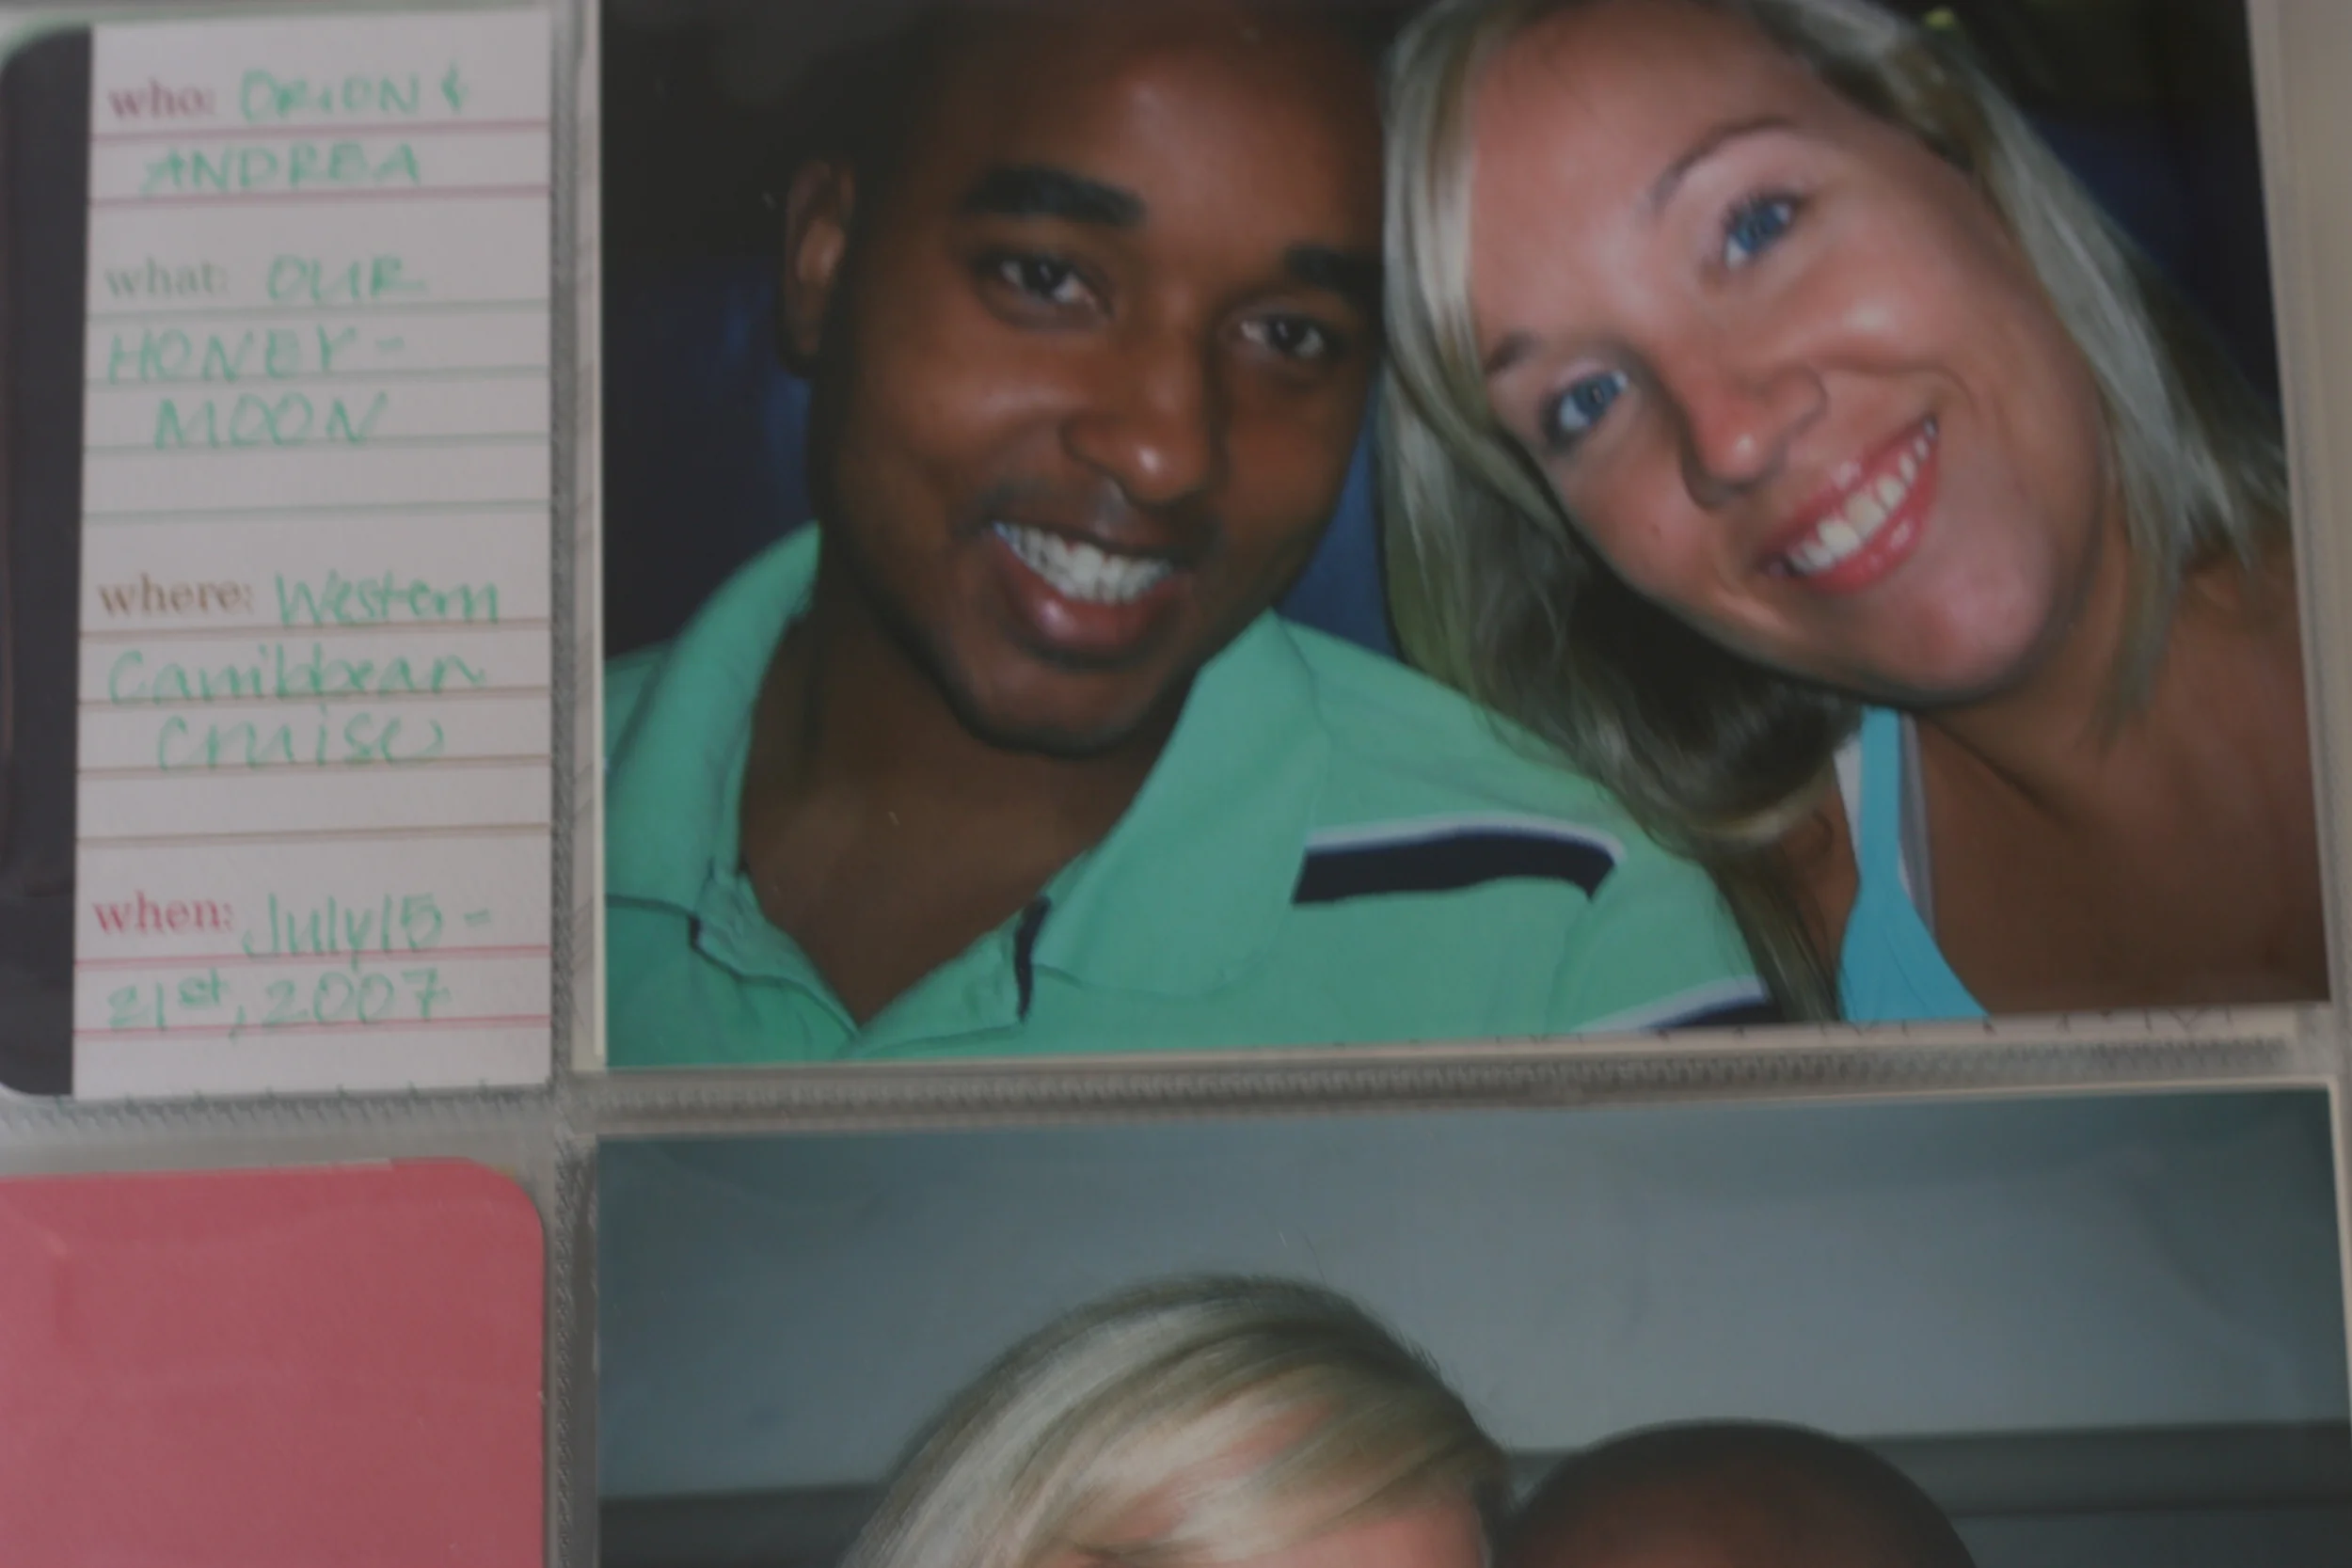
WeR Memory Keepers has some fun ways to make scrapbooking easy peasy! I have a stack of photos from my honeymoon that I've never done anything with. It was time to do something with them, using the Ring Albums and some fun journal cards I got right to work. Let me show you how easy this is! 

wermemorykeepersalbum.jpg

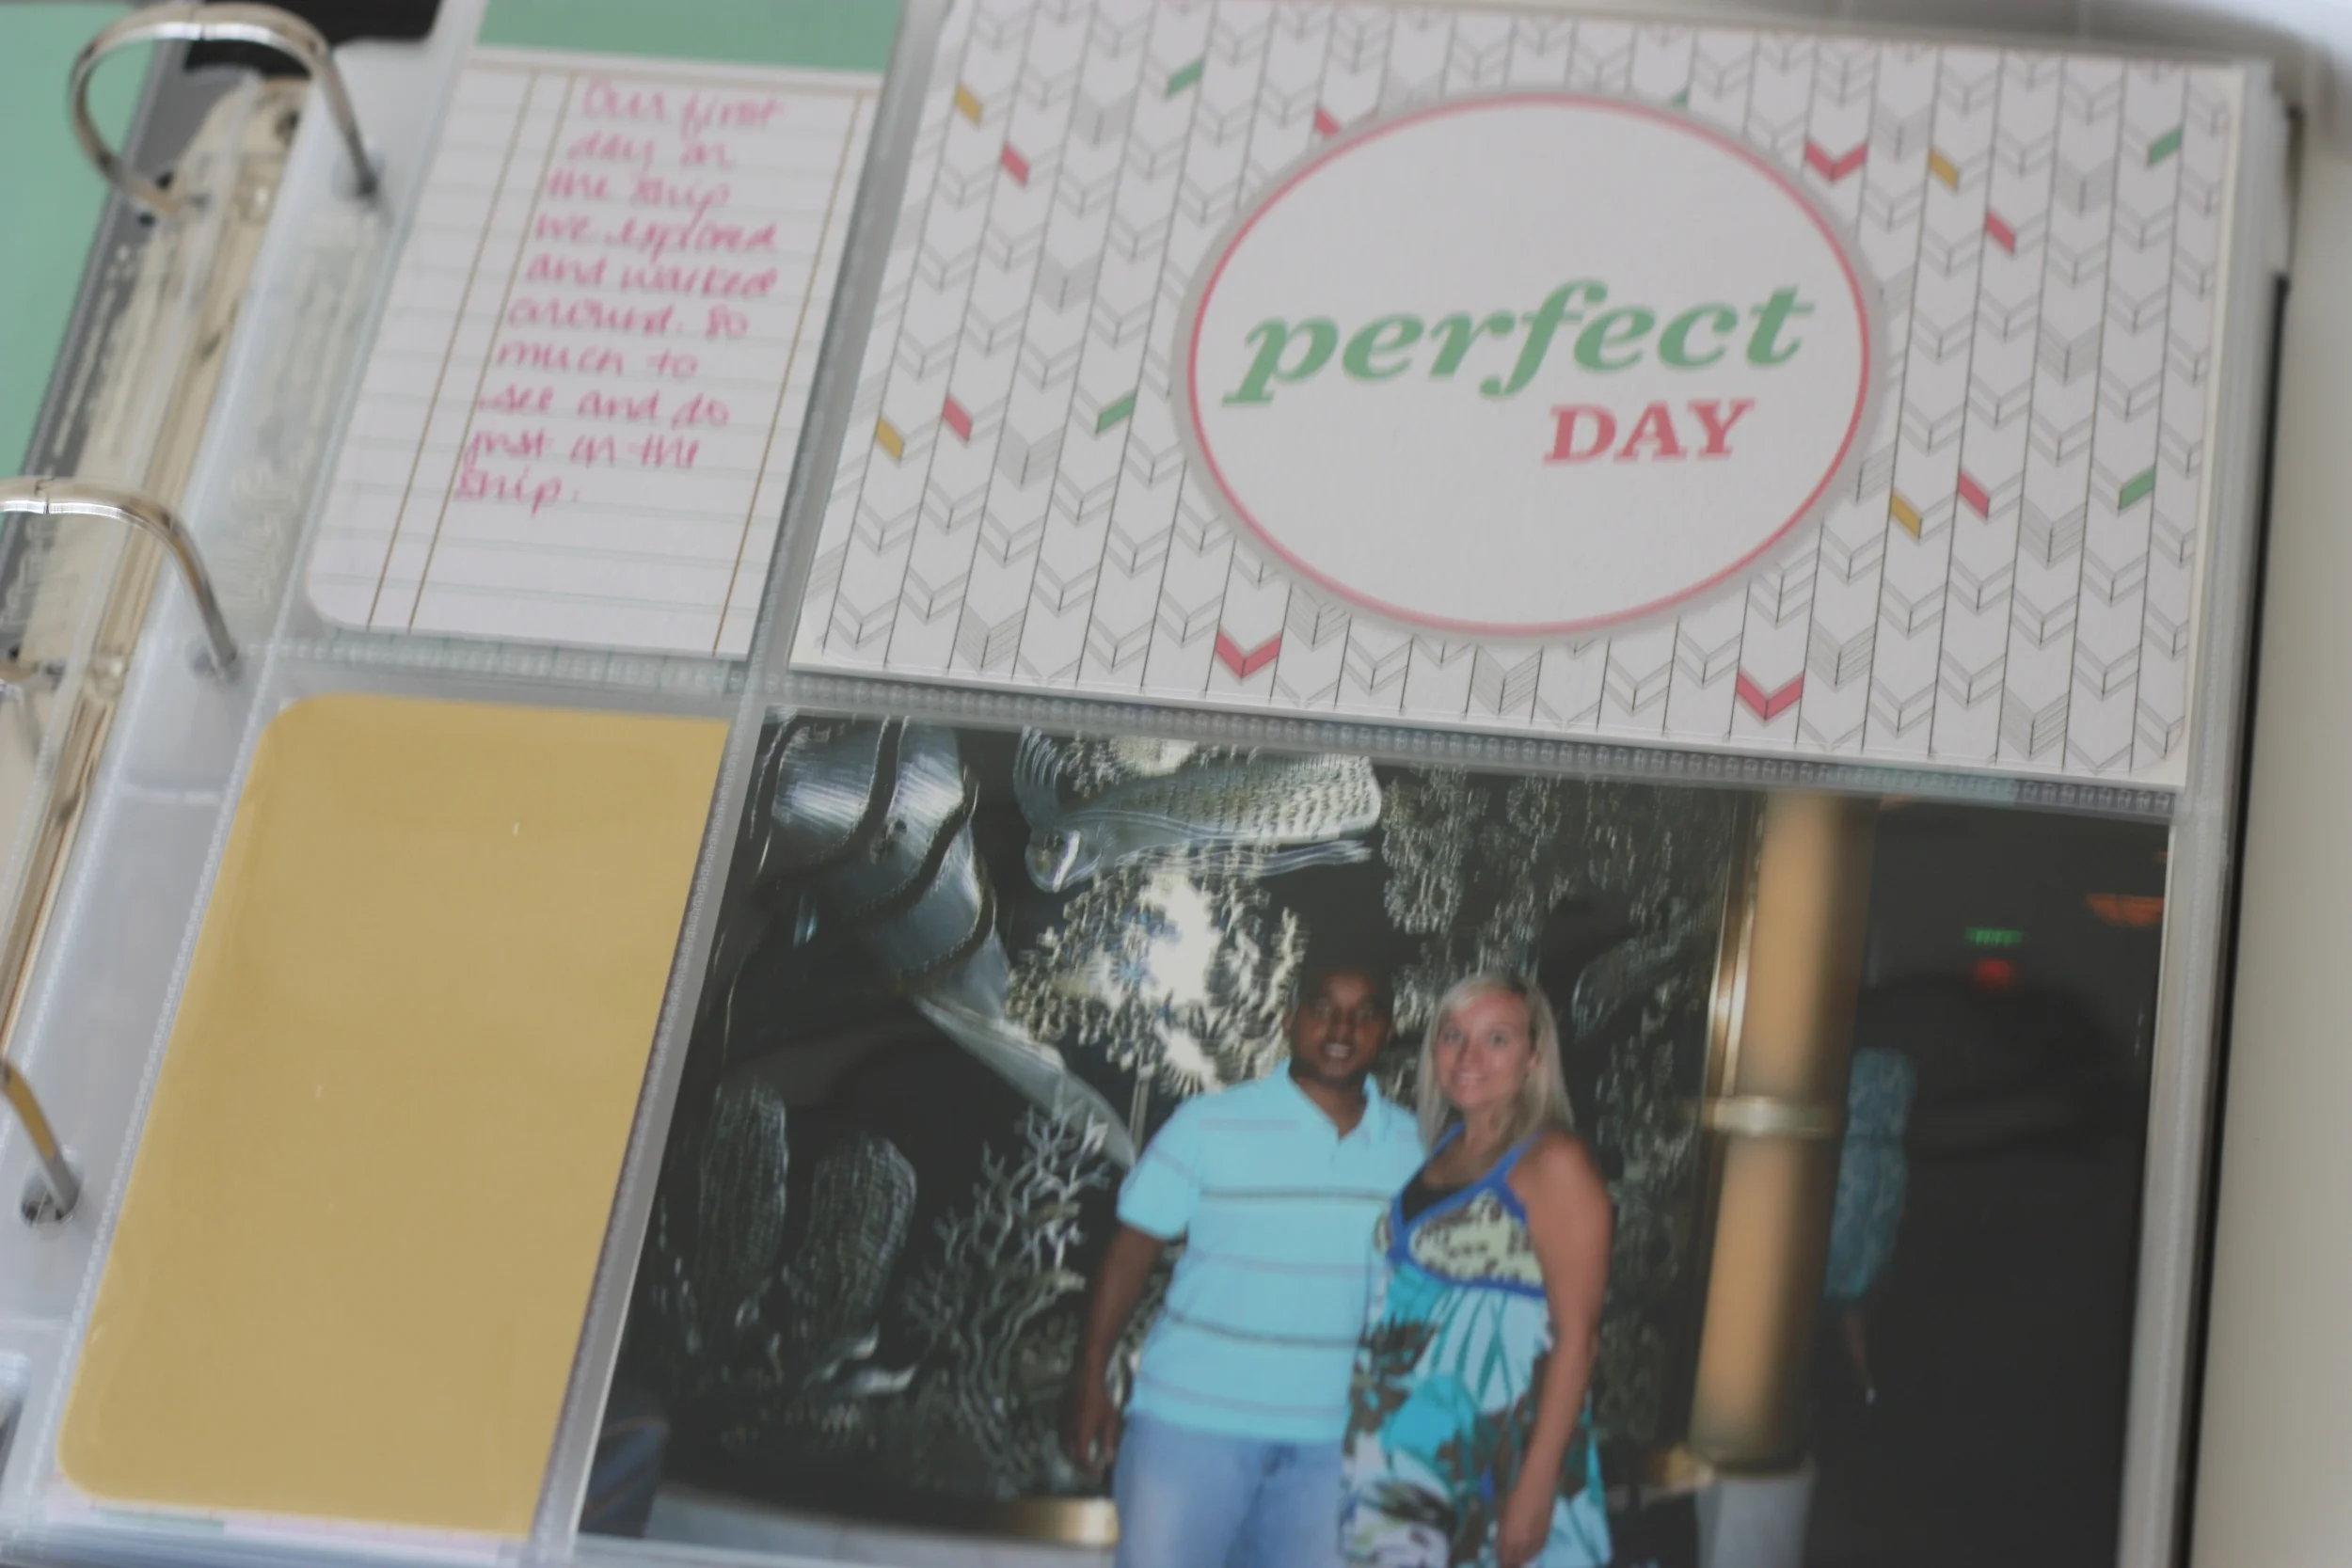
Using the journal cards from the Albums MadeEZ you can choose any of the journal cards from their collection. Just match the cards to the size of your pages and insert them into the pages. 

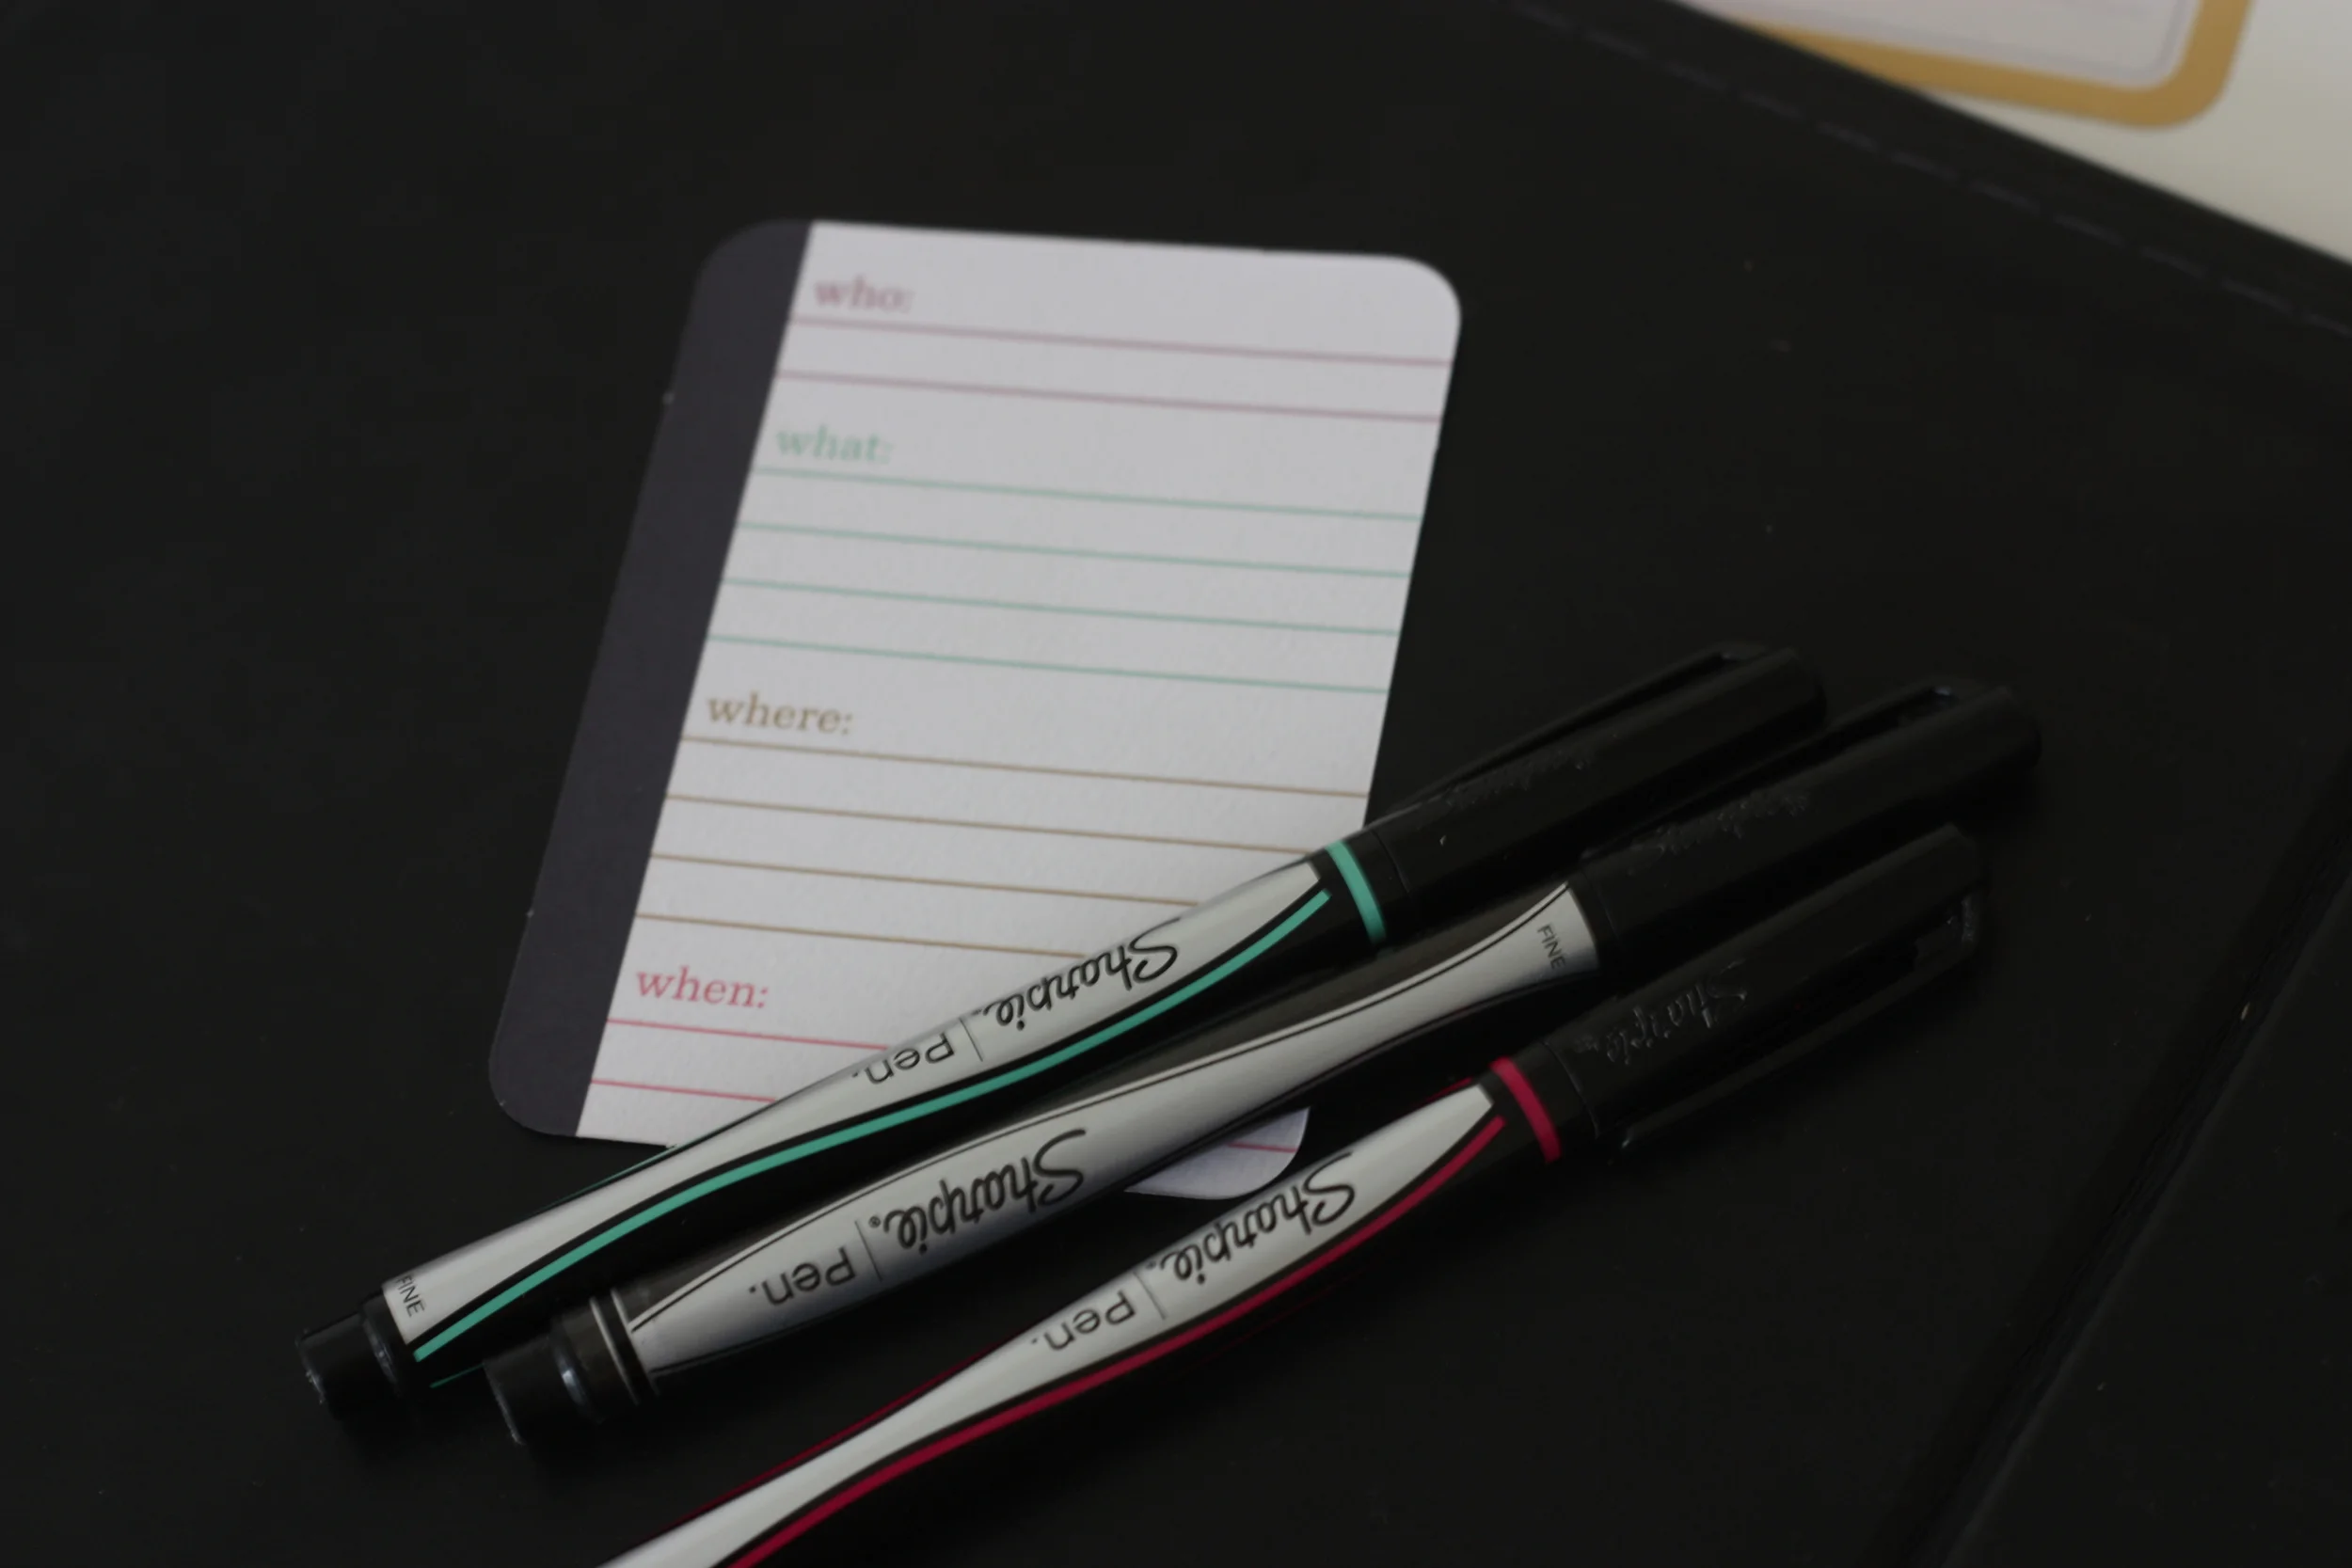
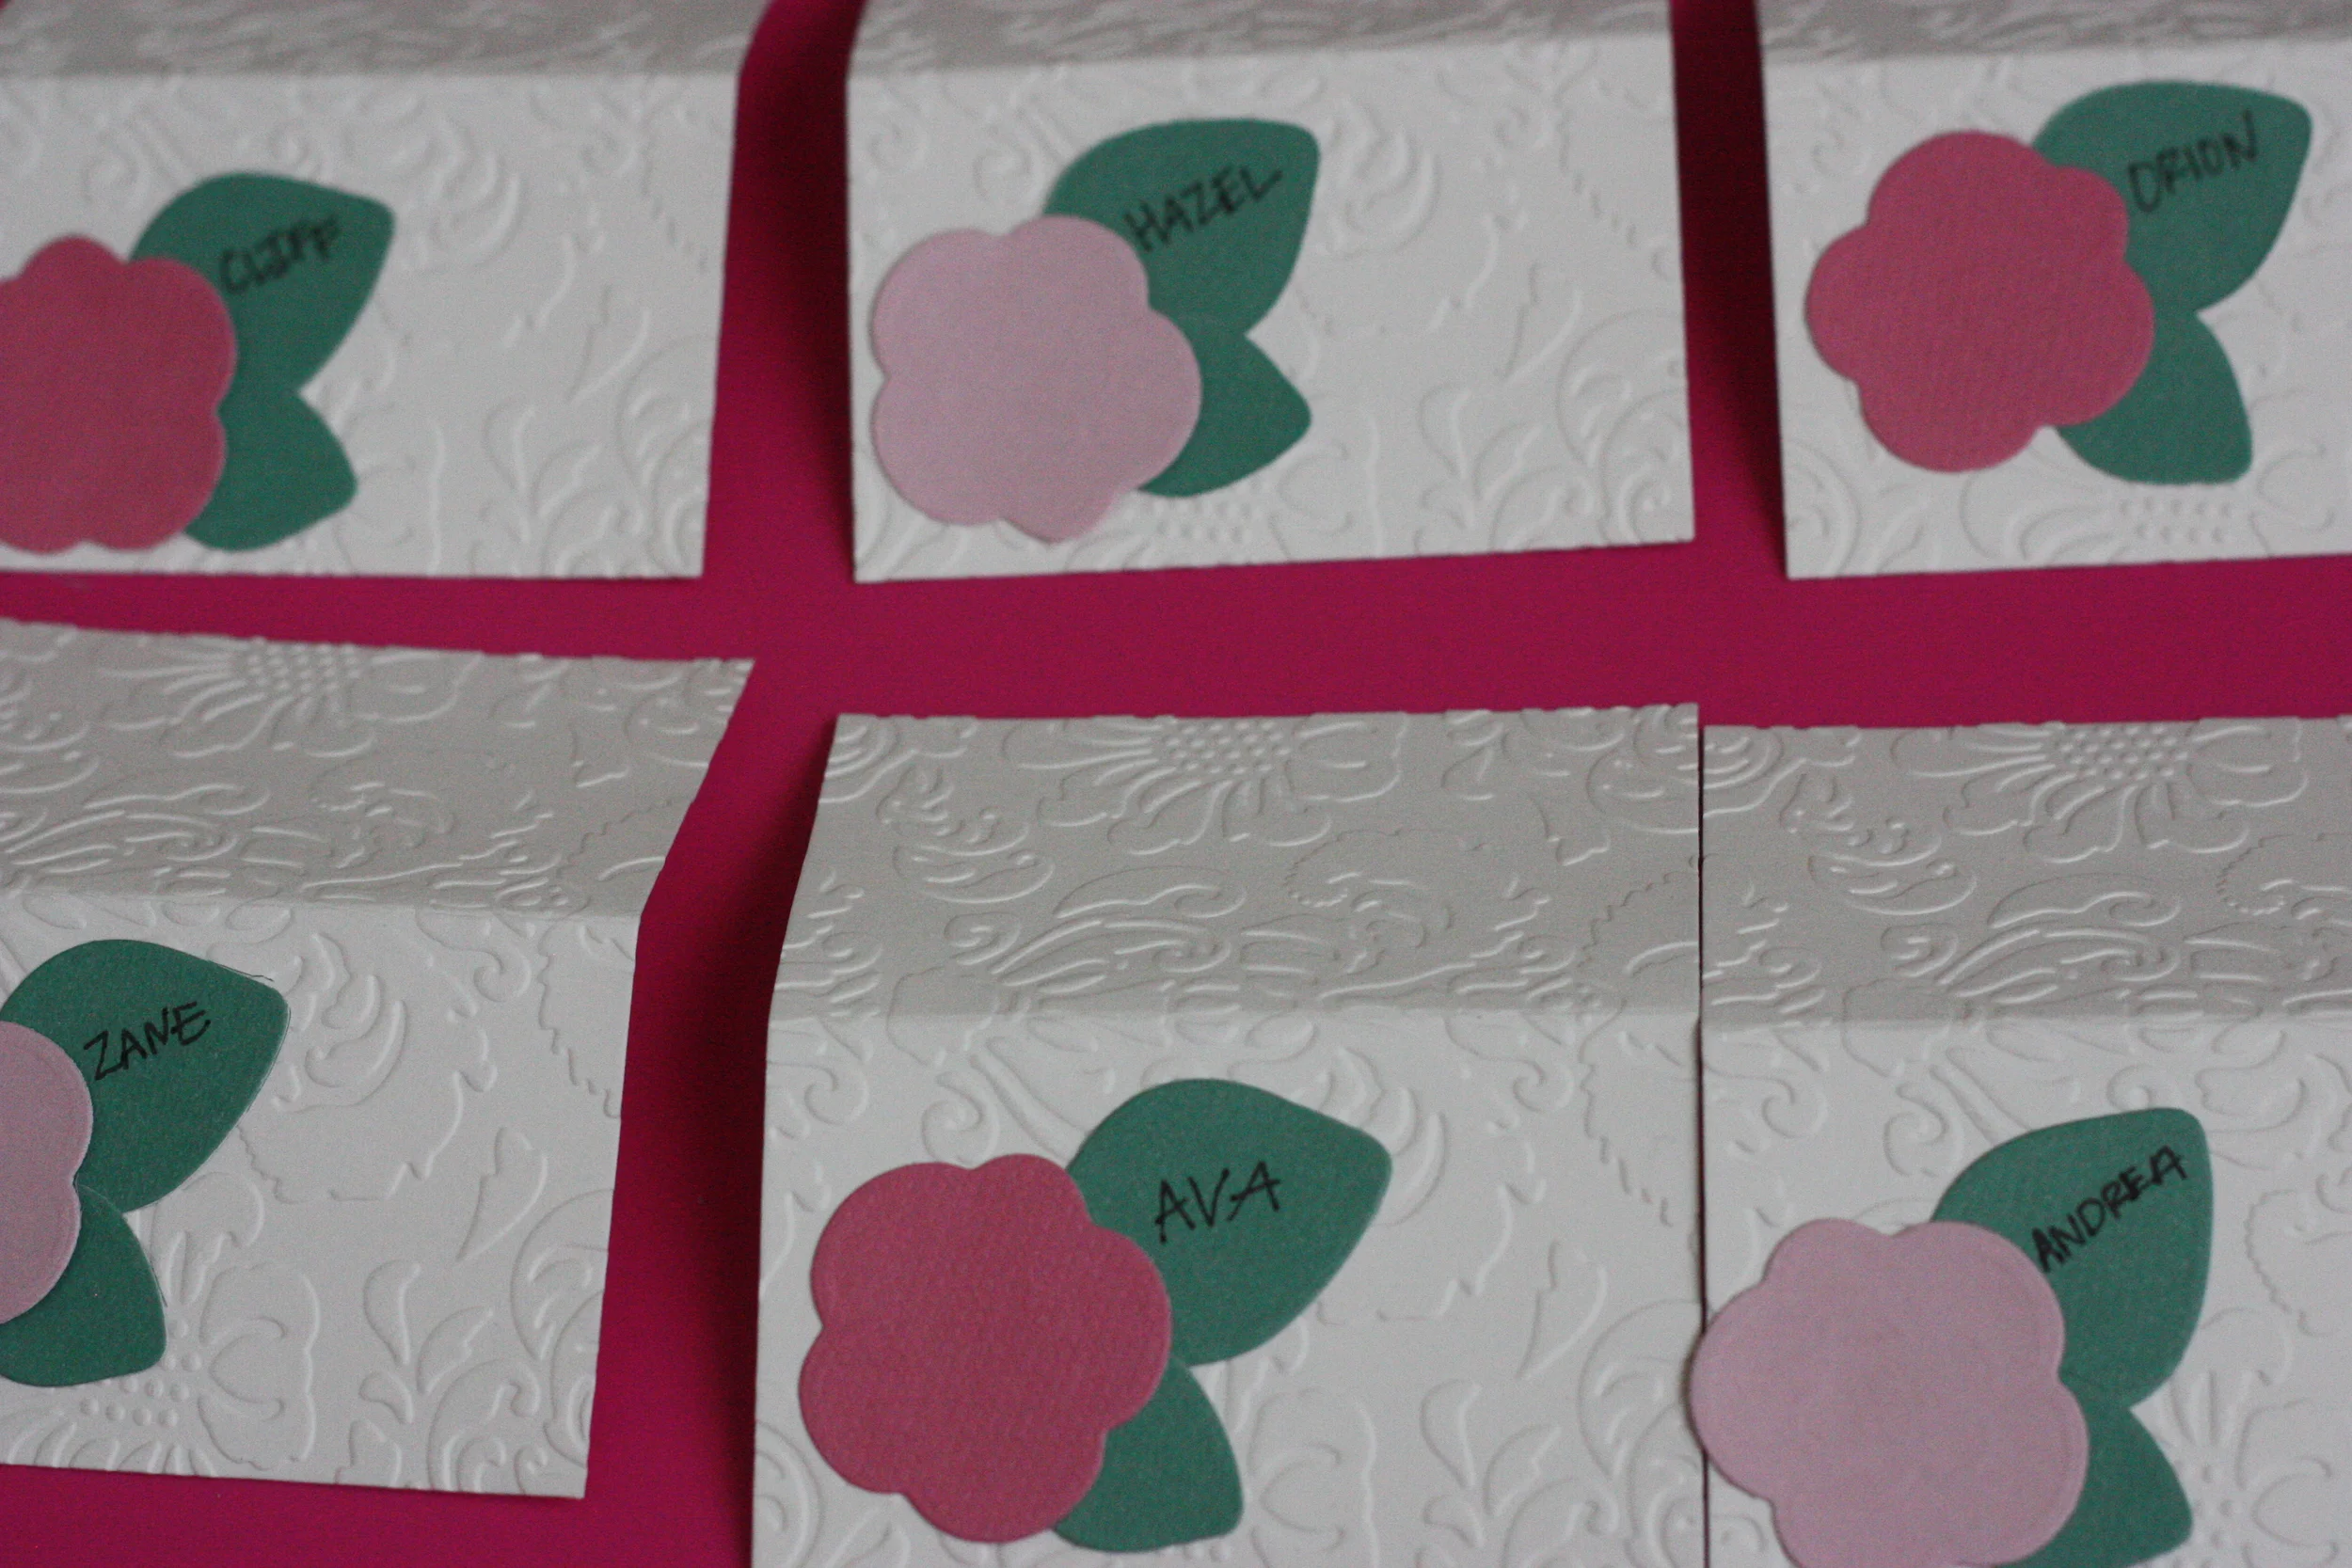
I loved that you could write little notes and things that you remembered from your event right on the cards. I used some fun colored Sharpie pens for this. 

IMG_7523.JPG

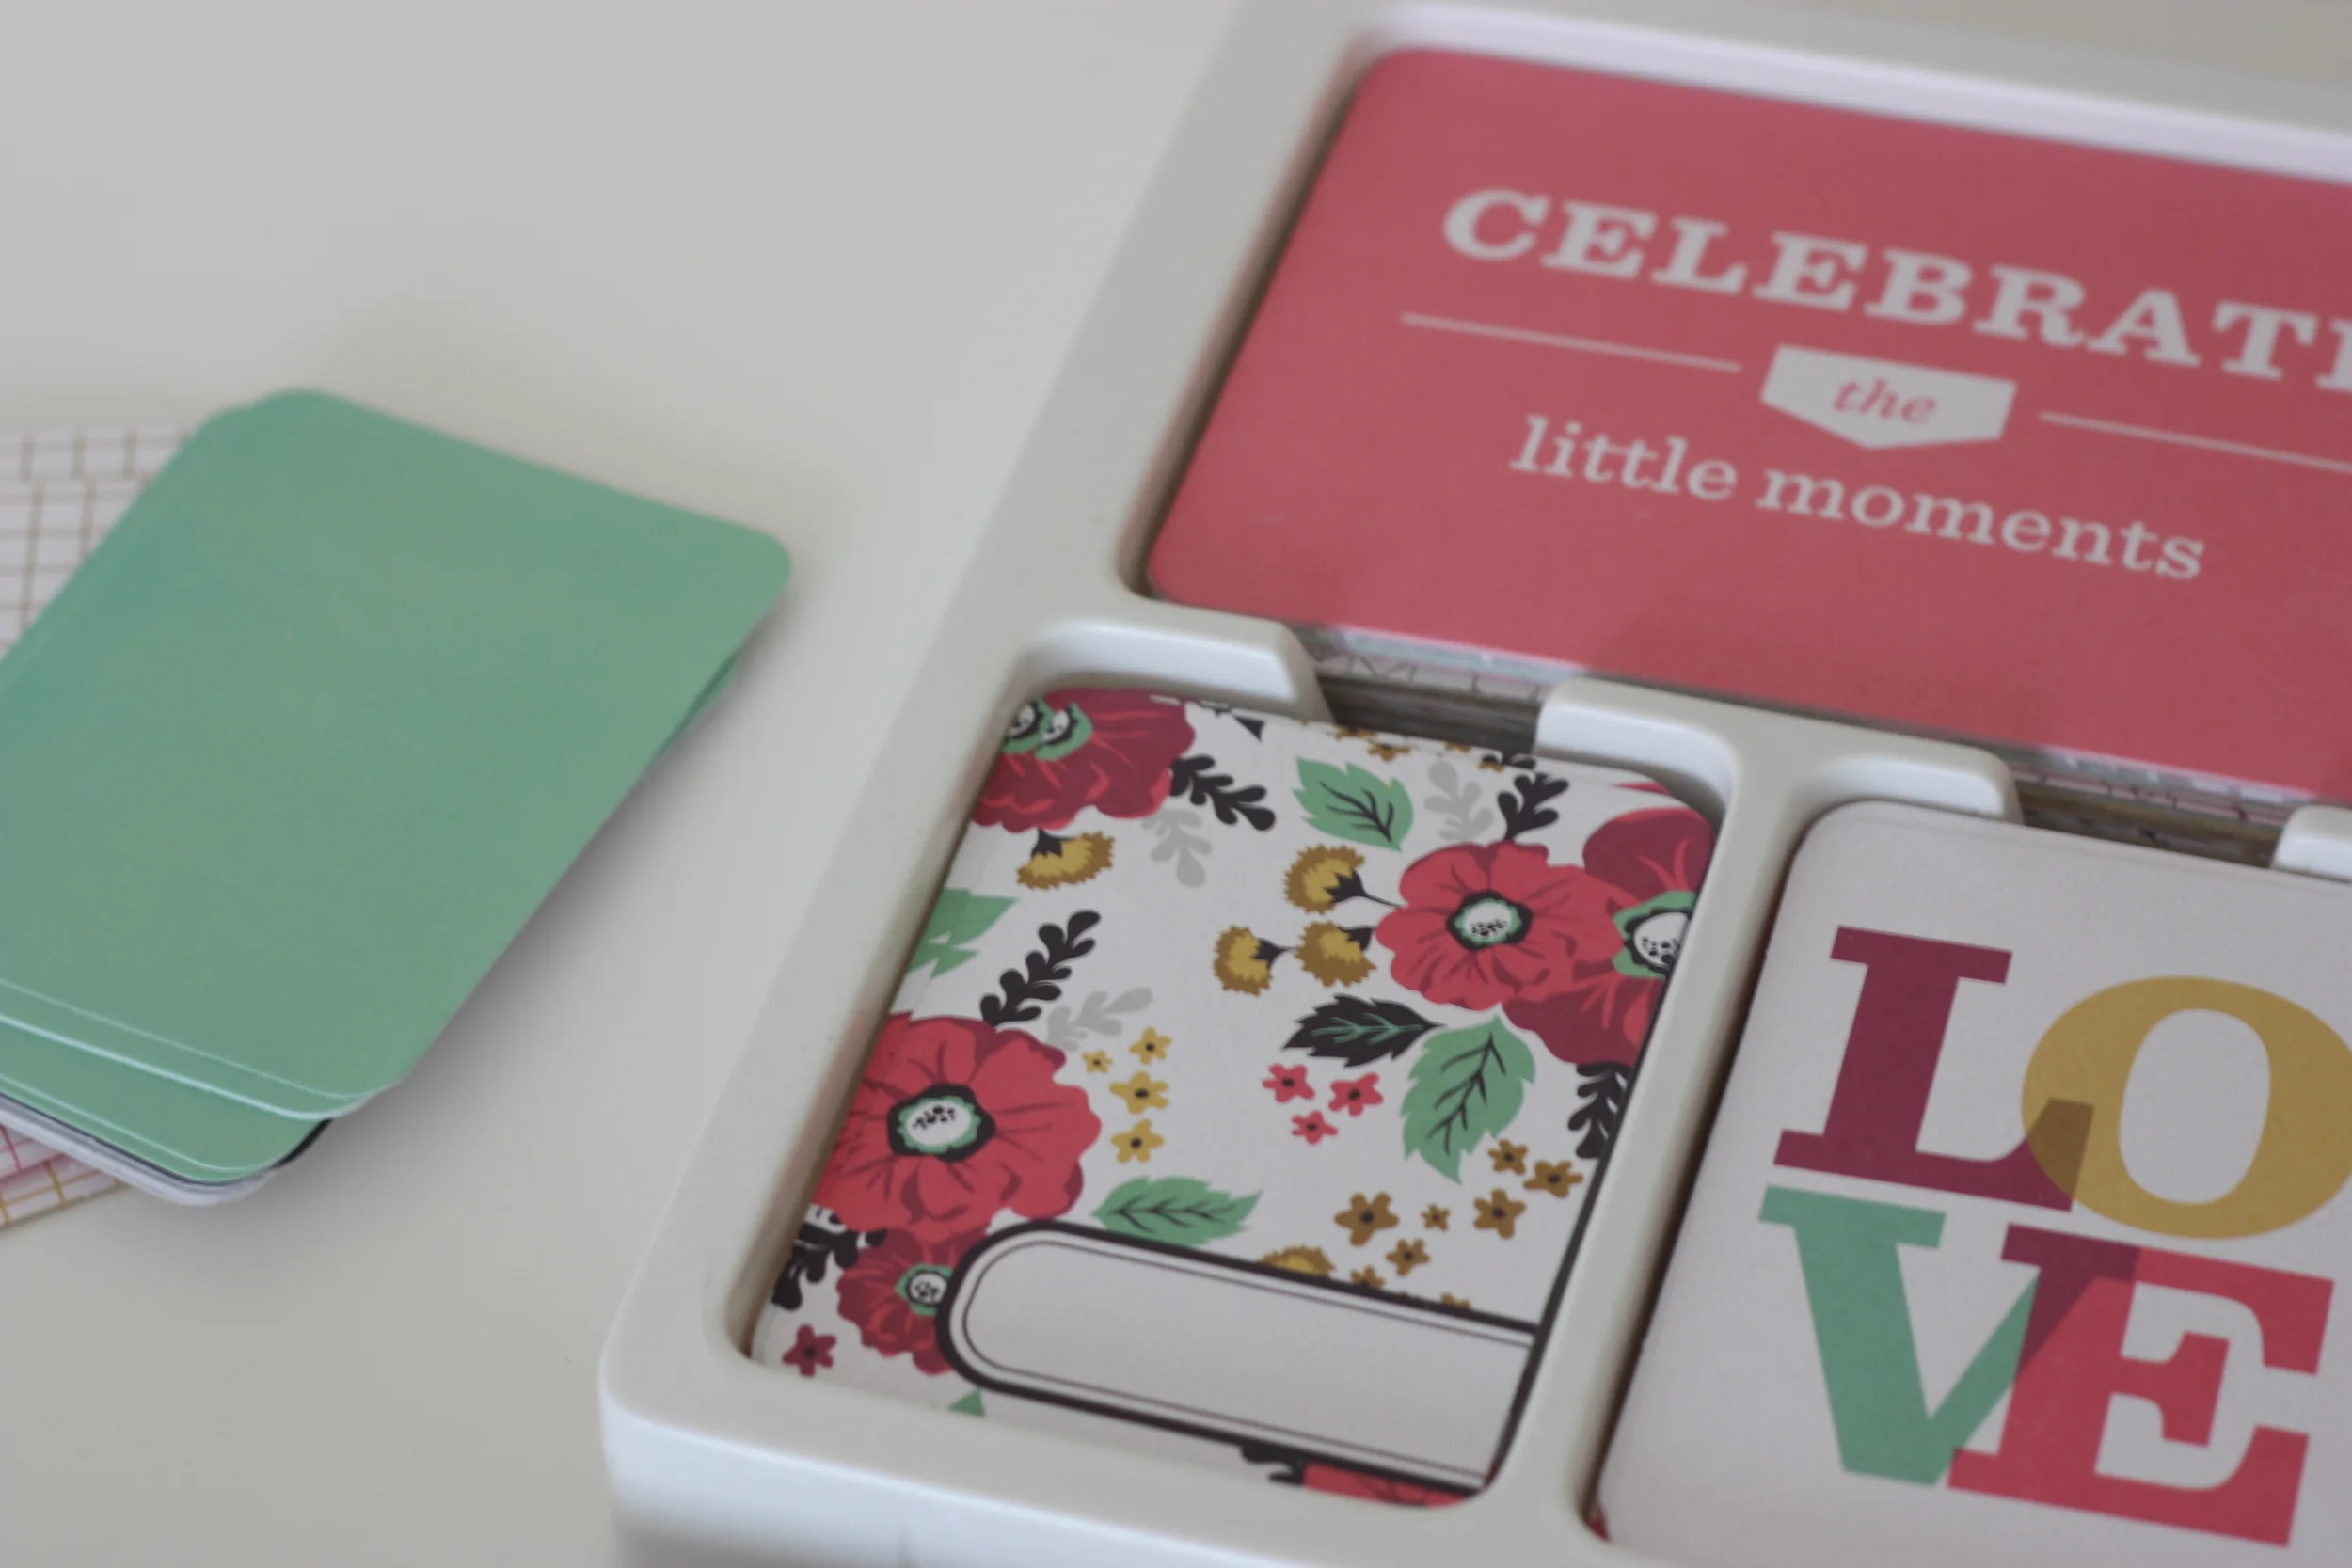
With all kinds of different designs and cards you can use there are endless options. See how easy this is?! I'm really excited to make some more albums using the journal cards & embellishments. They also have really fun Instagram albums you can turn into cute scrapbooks too! 

Remember to use code WORLEYHOUSE for 20% off your purchase. Go here to shop the collection. 

I'm participating in a fun blog hop with Lifestyle Crafts & WeR Memory Keepers. For more inspiration visit the list of other awesome bloggers showcasing their ideas for memory keeping; Aimee's ArmoireBenzie DesignCokie Pop PaperCutesy CraftsGinger Snap CraftsGluesticks BlogHomeworkKutz Paper ScissorsMaking the World CuterMidwestern GirlOne Scrappin MamaPopsicle ToesPretty ProvidenceScrap TimeSew Craft CreateSnapping MonstersThe Creative MomTried & TrueWaffleflowerWe R Memory Keepers, Missy Dear

craftertote.jpg

Visit the WeR Memory Keepers Facebook page for a chance to win this fun crafters tote. Perfect for taking all your tools on the go or from room to room! Winner will be chosen May 5th! 


Our Easter Table

I love creating table scapes, I love pretty linens, napkins, flowers and fun dishes. When I thought about what I was going to create this month for Lifestyle Crafts an a fun Easter table came to mind. 

I decided to make some place cards for each of my guests, and some drink flags to top the paper straws I was going to use. Using some of their fun die cuts, embossing folders and pretty paper here's how it all came together. 

Products used:

Floral embossing folder

Petals Dies

Mini Fold Paper (white)

Party Flag Insert Dies

Using my Letterpress I put the mini fold card between the embossing folder and ran each one through. I love the designs on these and the texture is pretty fun too. 

EastertablebyAndreaWorley.jpg
eastertablebyandreaworley.jpg

After I did all my cards (I needed 6 place cards) I started working on cutting out the small flowers to add to each card using the Petals die. Using some of the textured cardstock in a few different colors I made my flowers. One of the things I love most about the new cutting platform is that it's magnetic! Your dies won't fall off or slip around, so handy while you're running them through the Letterpress.

petalsdieslifestylecrafts.jpg

Using the sticky thumb I placed all my flowers on top of the cards with their matching leaves. I didn't want to cover up the entire leaf as I wanted some of it showing so I could write my guests names on them. I also cut out some drink flags to top my straws with. 

drinkflagslifestylecrafts.jpg

Ready to see our pretty table? Yes! I let Ava pick out the flowers for the table. She loved going to the store with me and picking them out. 

eastertablebyandreaworley.jpg

You can see a close up of the fun texture on these cards when you use the embossing folders. You can scoop up any of these products with a 20% discount using code: WORLEYHOUSE at check out. Shop Lifestyle Crafts here.  

Do you love making your table pretty for special events? 

Rainbow Party Details

We celebrated Ava's 4th birthday this past weekend with a rainbow party! She wanted a Rainbow Dash party, for those of you that know me personally you know that I don't do character parties. So I decided to do a rainbow color themed party instead and add a few touches of Rainbow Dash, just enough but few so that the party didn't scream My Little Pony & Rainbow Dash. 

I love using color as a party theme. Pick just a few or a bunch and you can really put together a party well. Since this was a rainbow party I used them all. First thing I used was a big 12x12 Paper pack from WeR Memory Keepers. This thicker paper was going to be used for a bunch of different projects. I loved the bright colors and the double sided paper gave me two print options to choose from. 

The first project I used this paper for was favor tags. Using a 2 inch circle punch I punched out 20 circles using all the different colors of paper. Then I used some labels and typed up a message and printed them out and placed the sticker over the tag. Punch a hole through it and tied it up with some bakers twine also purchased from WeR Memory Keepers. 

rainbowpartycrayonfavors.jpg

I saw these "WISH" die cuts on the website and I thought they would be really cute placed on various tables throughout the party. Using the WISH die template I used my letterpress machine to cut a few of these out, I used the same paper pack and just choose a few different colors. 

Another fun detail I added was these colorful circle banners. Using my 2 inch circle punch and the same fun paper, I punched out several circles. I used two of each of the bright colors in the paper pack. I used 25 circles for each banner. 

Using my sewing machine I fed each circle though sewing them together to make one long banner. I repeated this step and made five banners total. 

Here's what they all looked like hung up over the dessert table, they turned out so nice and I think all together they make a fun impact! 

rainbowpartydesserttable.jpeg
drinks.jpg

Lastly using some baker's twine in two different colors I tied them around these glass drinking bottles for some added detail. 

Using theses simple tricks you can kick your parties up a notch! Simple and fun details help pull a party together and really impress your guests! 

The products I used for this party are listed below:

 12 x 12 Big Basics Paper pack

WISH Template

Bakers Twine in blue & green

Evolution Letterpress Machine 

If you love any of the items used above use code WORLEYHOUSE for 20% off your purchase from WeR Memory Keepers, shop here. 

*I have a partnership with Lifestyle Crafts & WeR Memory Keepers. Every month I get to bring you fun projects with parties in mind. I received the supplies listed above in exchange for this post. All opinions and ideas are my own as I truly enjoy putting together these projects. 

Office & Guest Room Inspiration

I've been working on making over my guest room for the last couple weeks. During the last year this room has served primarly as our guest room, and a place where I keep all my craft supplies and sew in there from time to time. My parents were the last guest to stay in there over Thanksgiving, but with a queen size bed and a sewing table set up it was getting kinda cramped. 

So we decided to get rid of the big bed in there, and make this room more into my office/ guest room. We don't have guests often so I think a smaller bed or pull out sofa is what we're going to put back in there. 

I've been saving my pennies, and used my earnings from my garage sale to start buying things for the room makeover. To see more of my inspiration & ideas for this space visit my pin board here. This room is small, but it has a decent size closet for storage. I want the space to be light, bright and airy with lots of white, icy blues, soft pinks and touches of gold. I've already been gathering some inspiration and pieces for the room, you can see where I'm going with the mood board below.

Office & Guest Room Inspiration

I love Ikea for simple storage solutions, you can't beat their prices on some of their office stuff. Last weekend I scooped up some shelves to add to my office, and some simple white boxes and magazine files to store more things in. 

The gold table is from Target and I found it on clearance back at the beginning of January, it quickly went into my cart at $24.99! I'm still on the hunt for the perfect couch to add to the room. It needs to be able to fold out into a bed so when we do have guest they have a place to sleep. 

Here's how the room looked once we cleared everything out of it to start from scratch. 
The view looking in from the doorway, and as you can see below the closet as well. So we're starting with a pretty blank canvas. 
My goal is to DIY this room for $500 or under! I'm pretty sure with my savvy skills I can make it happen. Check back later in the week to see the progress I've made in this room. 

Have you attempted any room makeovers lately?